進階列印設定
QUEUE allows you to configure your print tickets to suit your needs, no matter how many printers are connected or the required destination for specific tickets.
Configure each printer you want to use with QUEUE
Set up printers in QUEUE
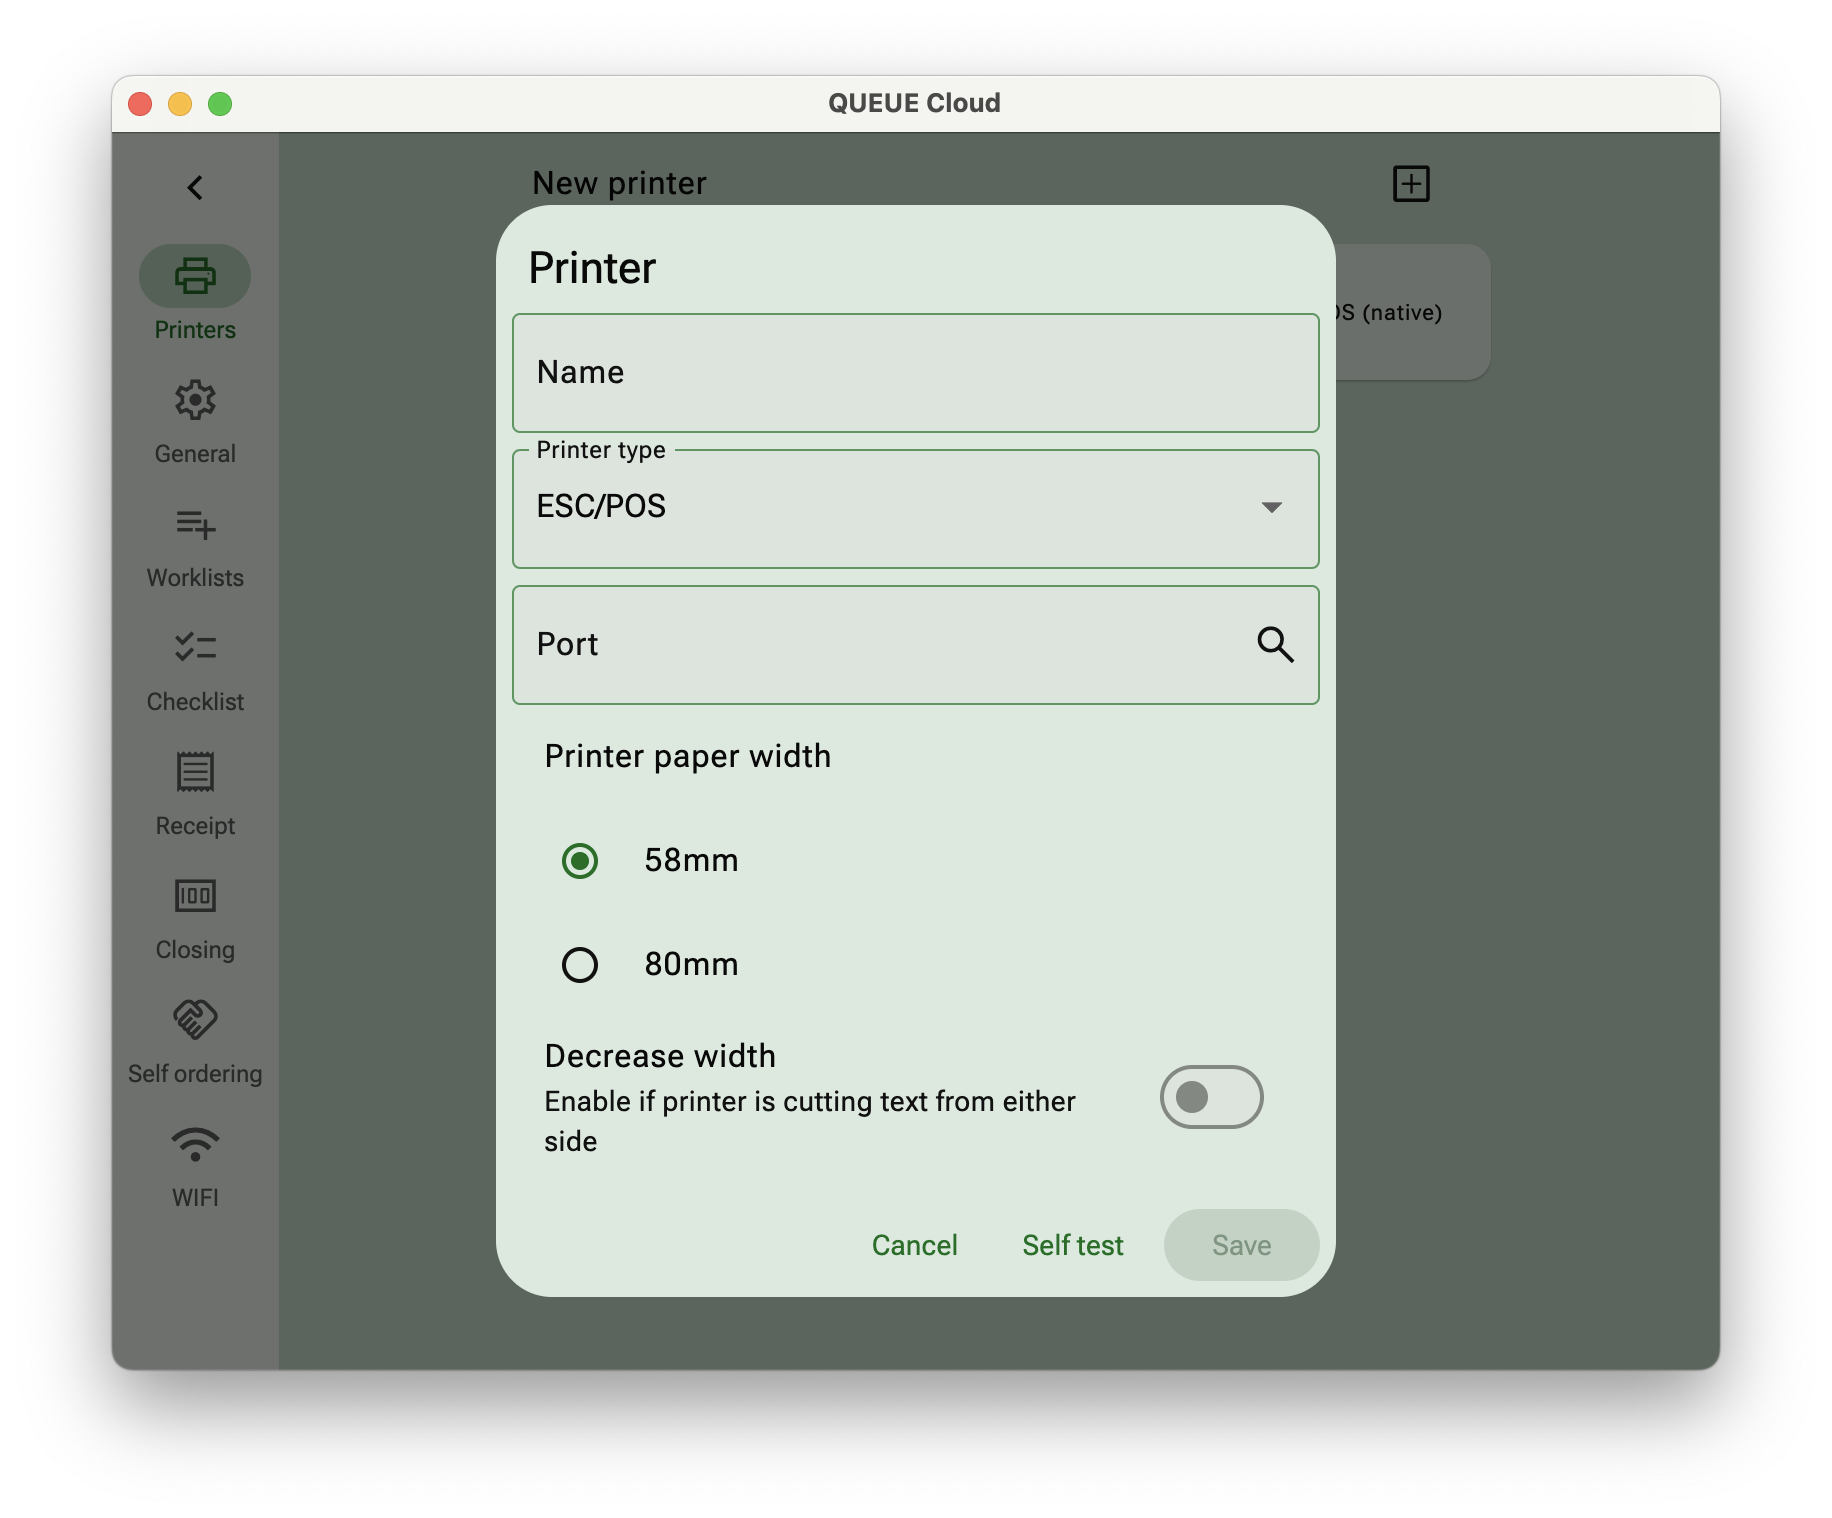
Go to Settings > Printing > Printers
Click New Printer +, select printer type and enter printer name and IP address. Toggle on Default Repeipt Printer/Worklist Printer/Checklist Printer if needed. Press Test Print to make sure printing functions normally when all the settings are complete.
Configure multiple printing stations
By default, all tickets will be printed on the Default printer.
If you want different items to print on different printers, this can be achieved by creating multiple work lists and assign one or more printers to each work list.
1. Create a new work list
Go to Settings > Menu > Worklists > + New Worklist
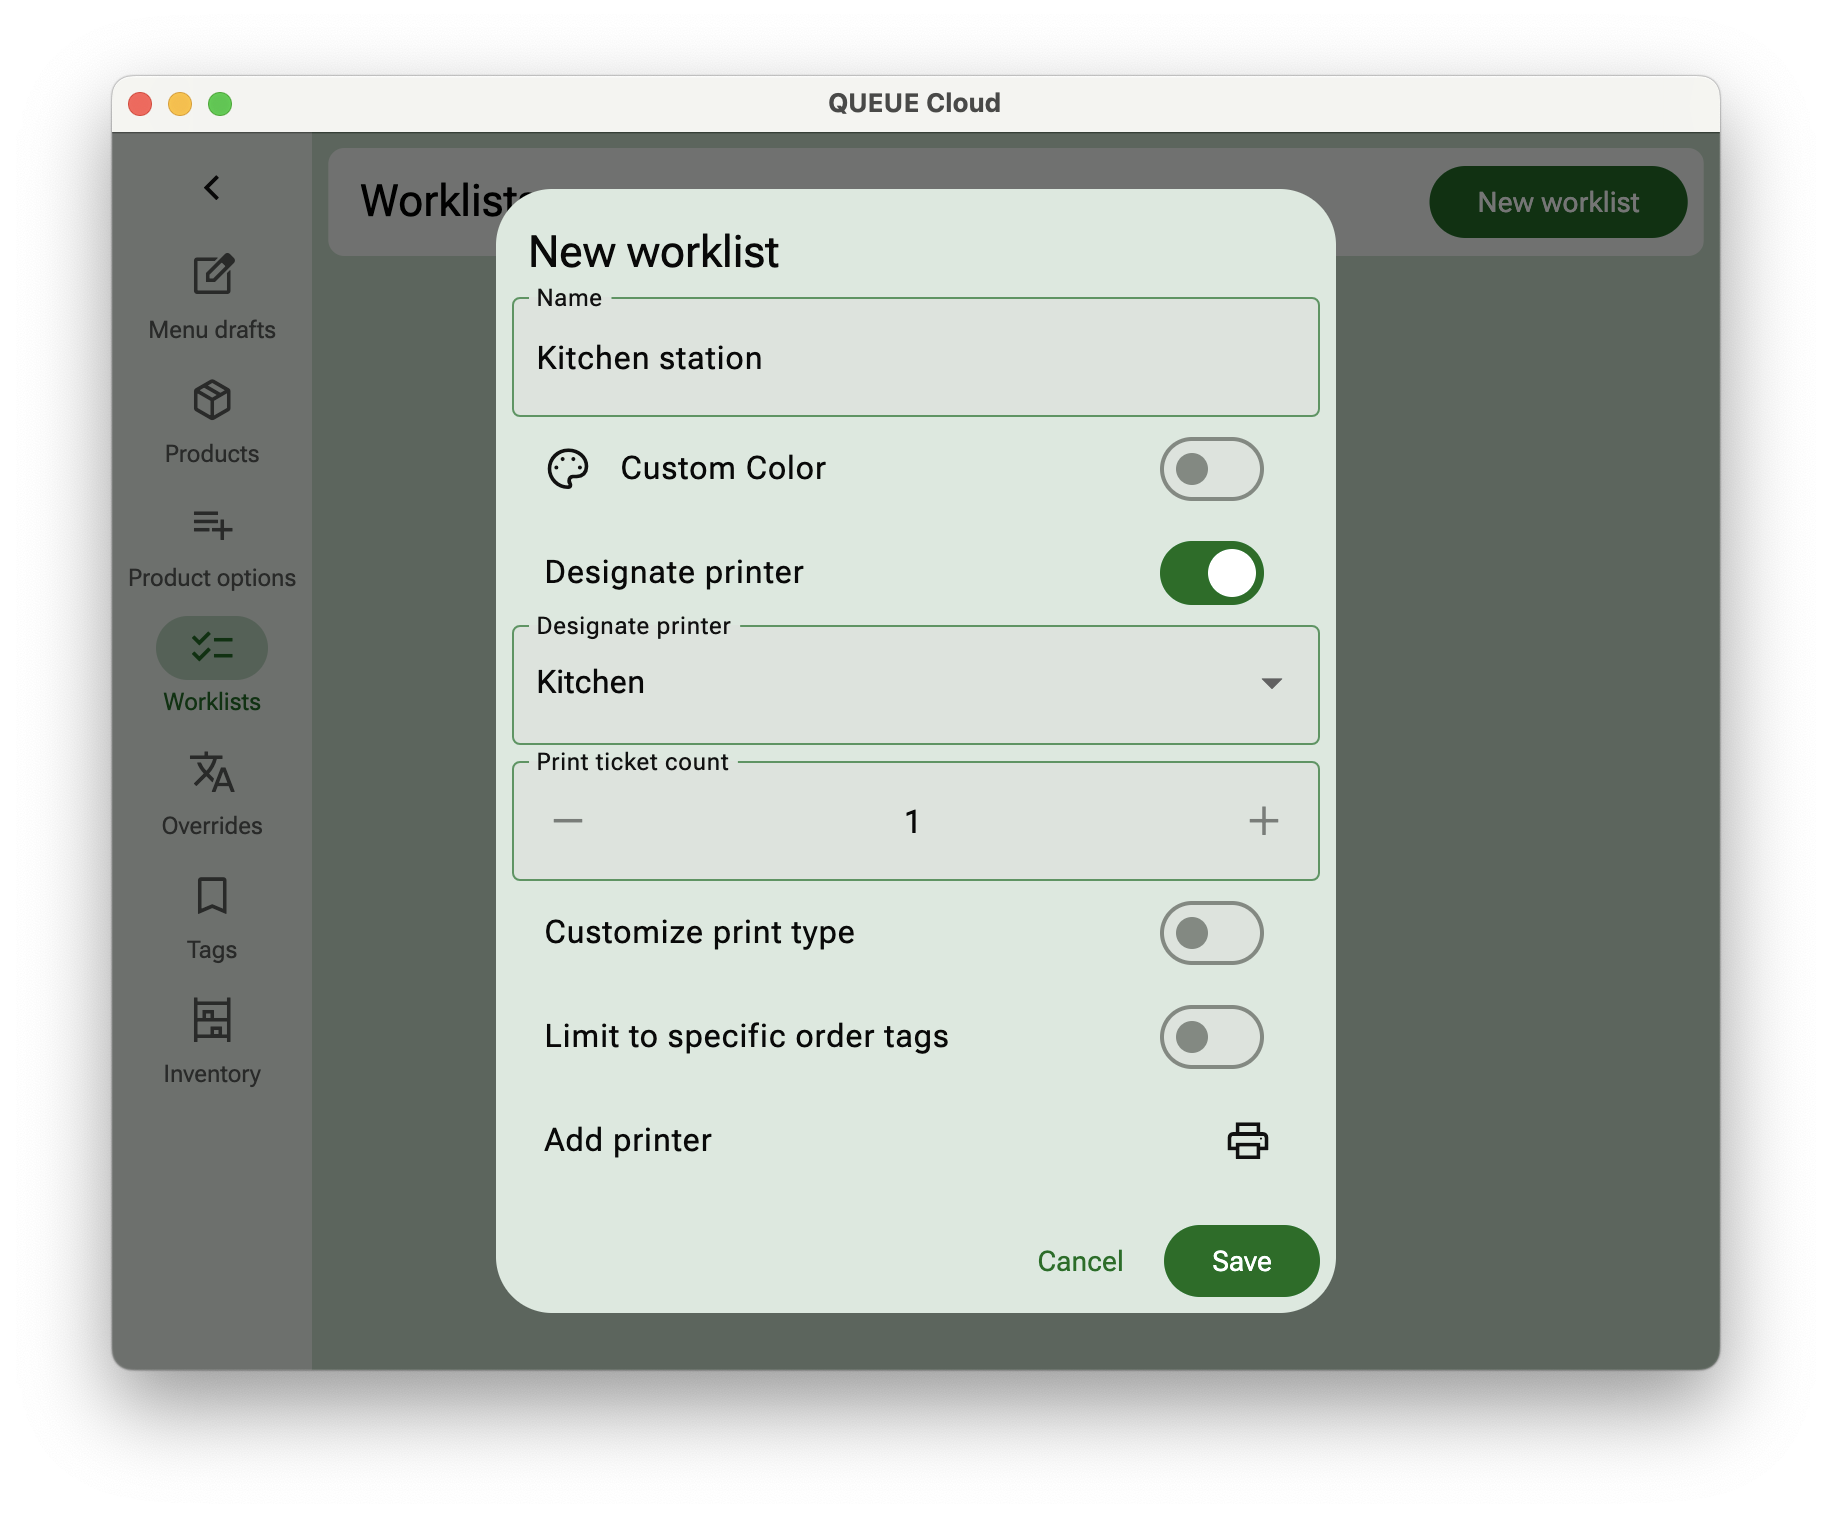
Customize your worklist name, for example, bar/kitchen/cashier.
Enable Designated printer and chose the destination printer that should print tickets belonging to this worklist.
If necessary chose how many ticket copies should be printed.
You can override the Print type for this work list if these tickets need a different print design by choosing Customize print type.
If 2 or more printers are needed in this area, please repeat the steps to set up multiple printers.
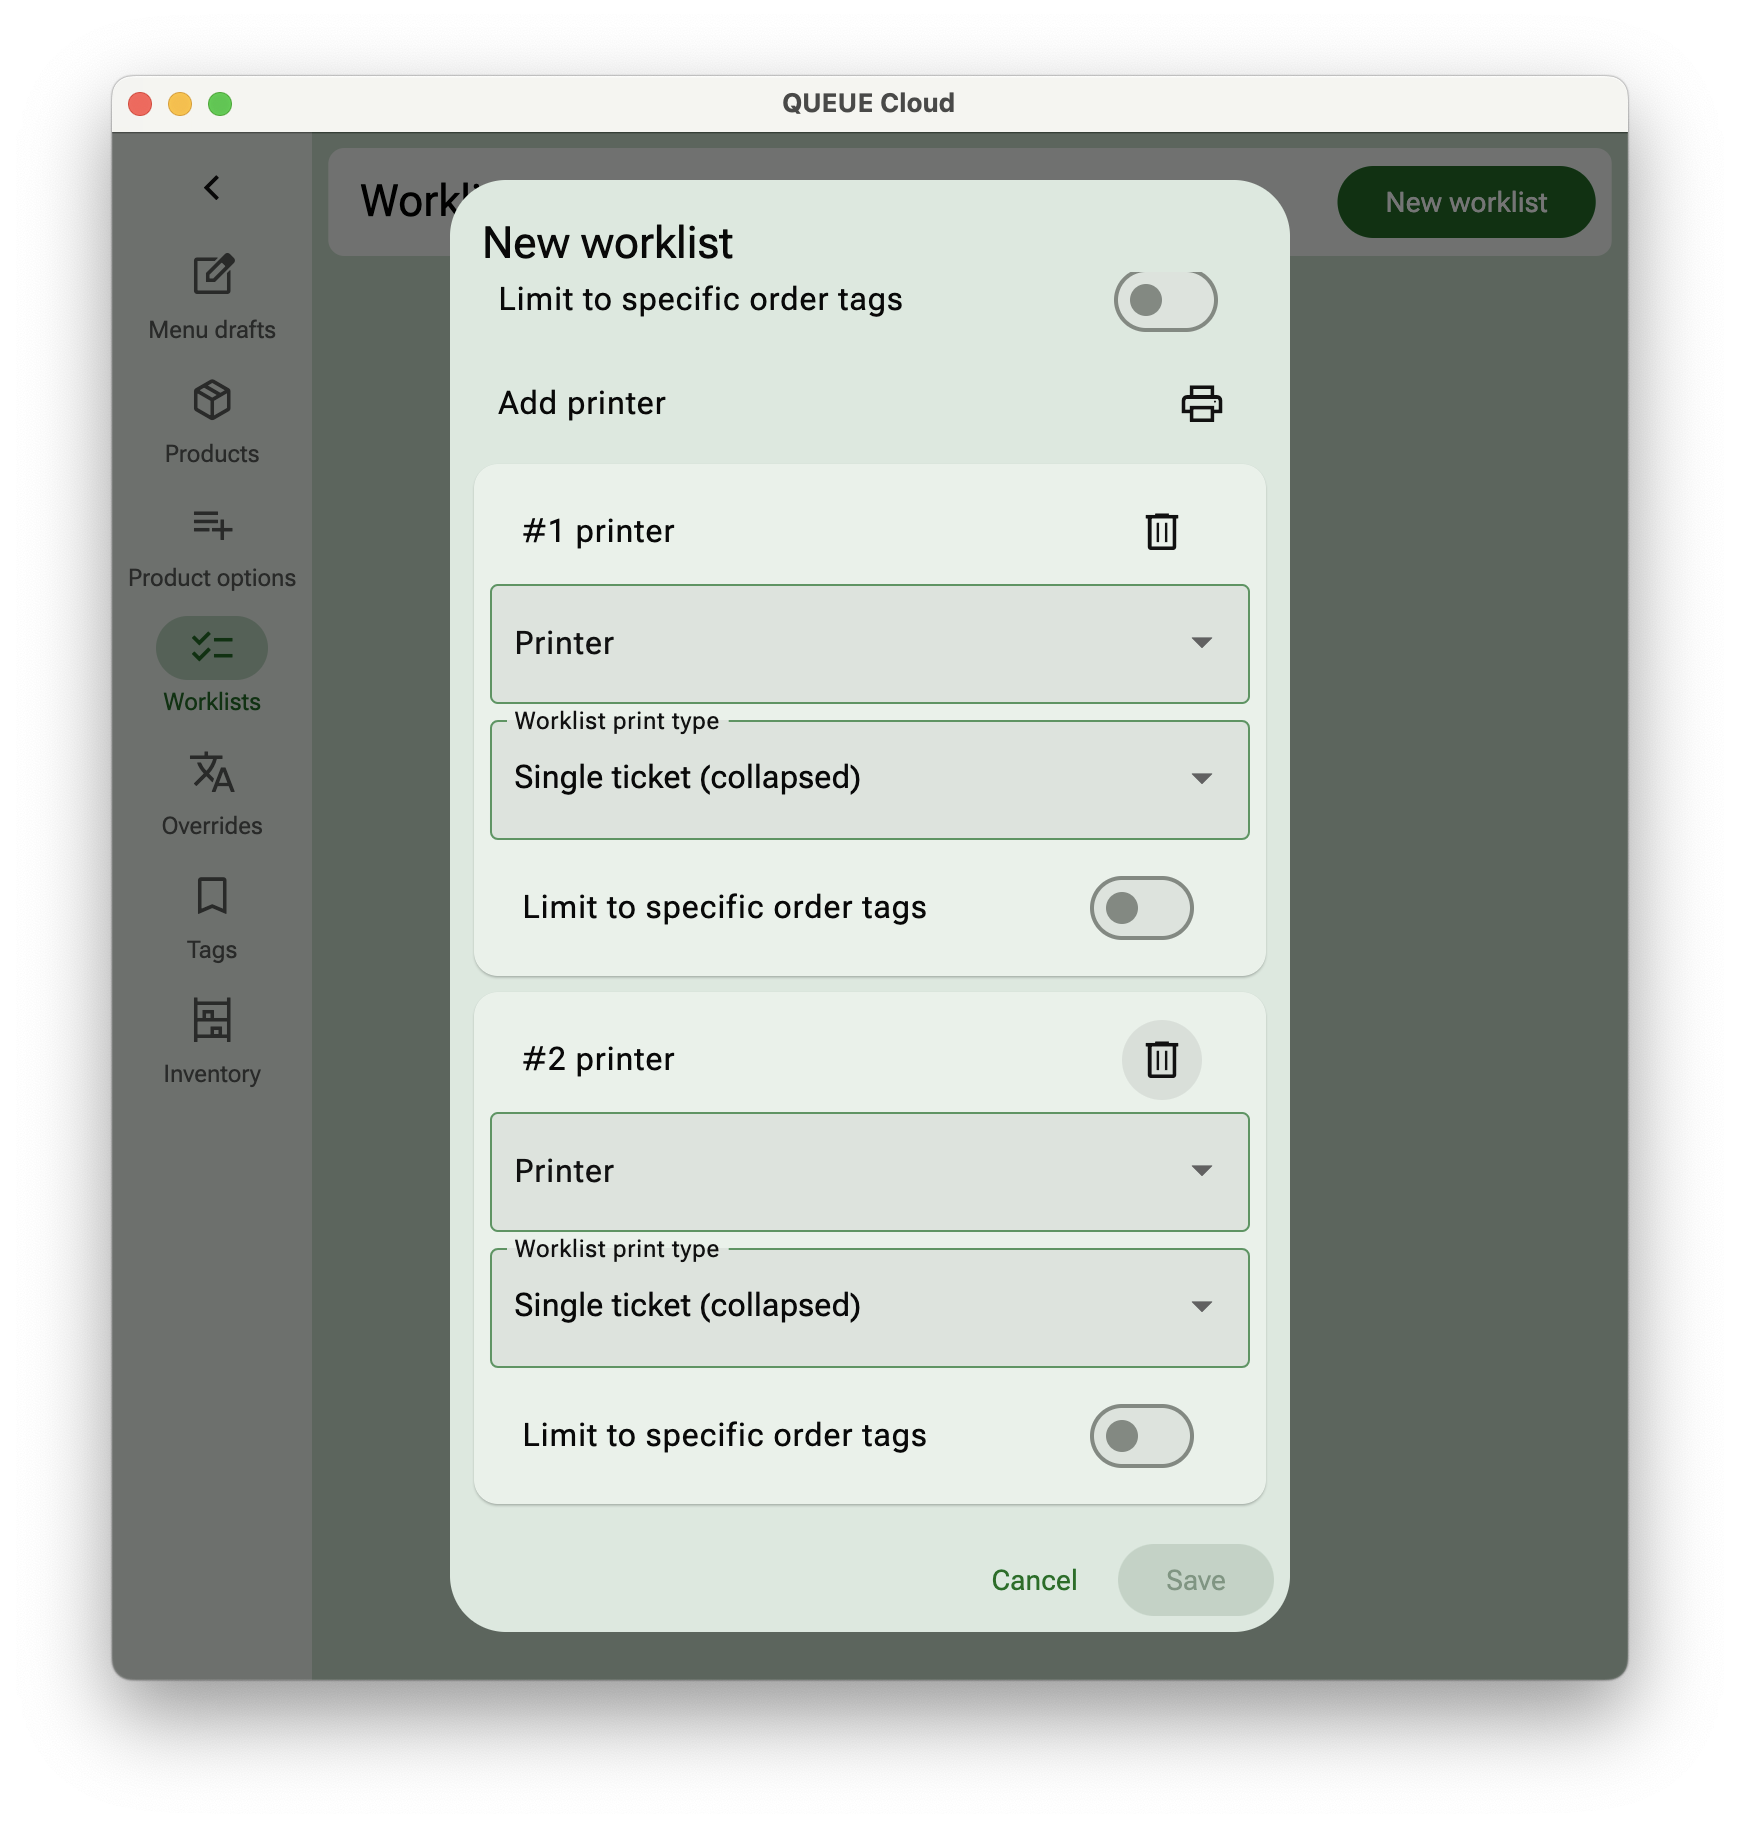
Don't forget to press Save after all completing all the settings.
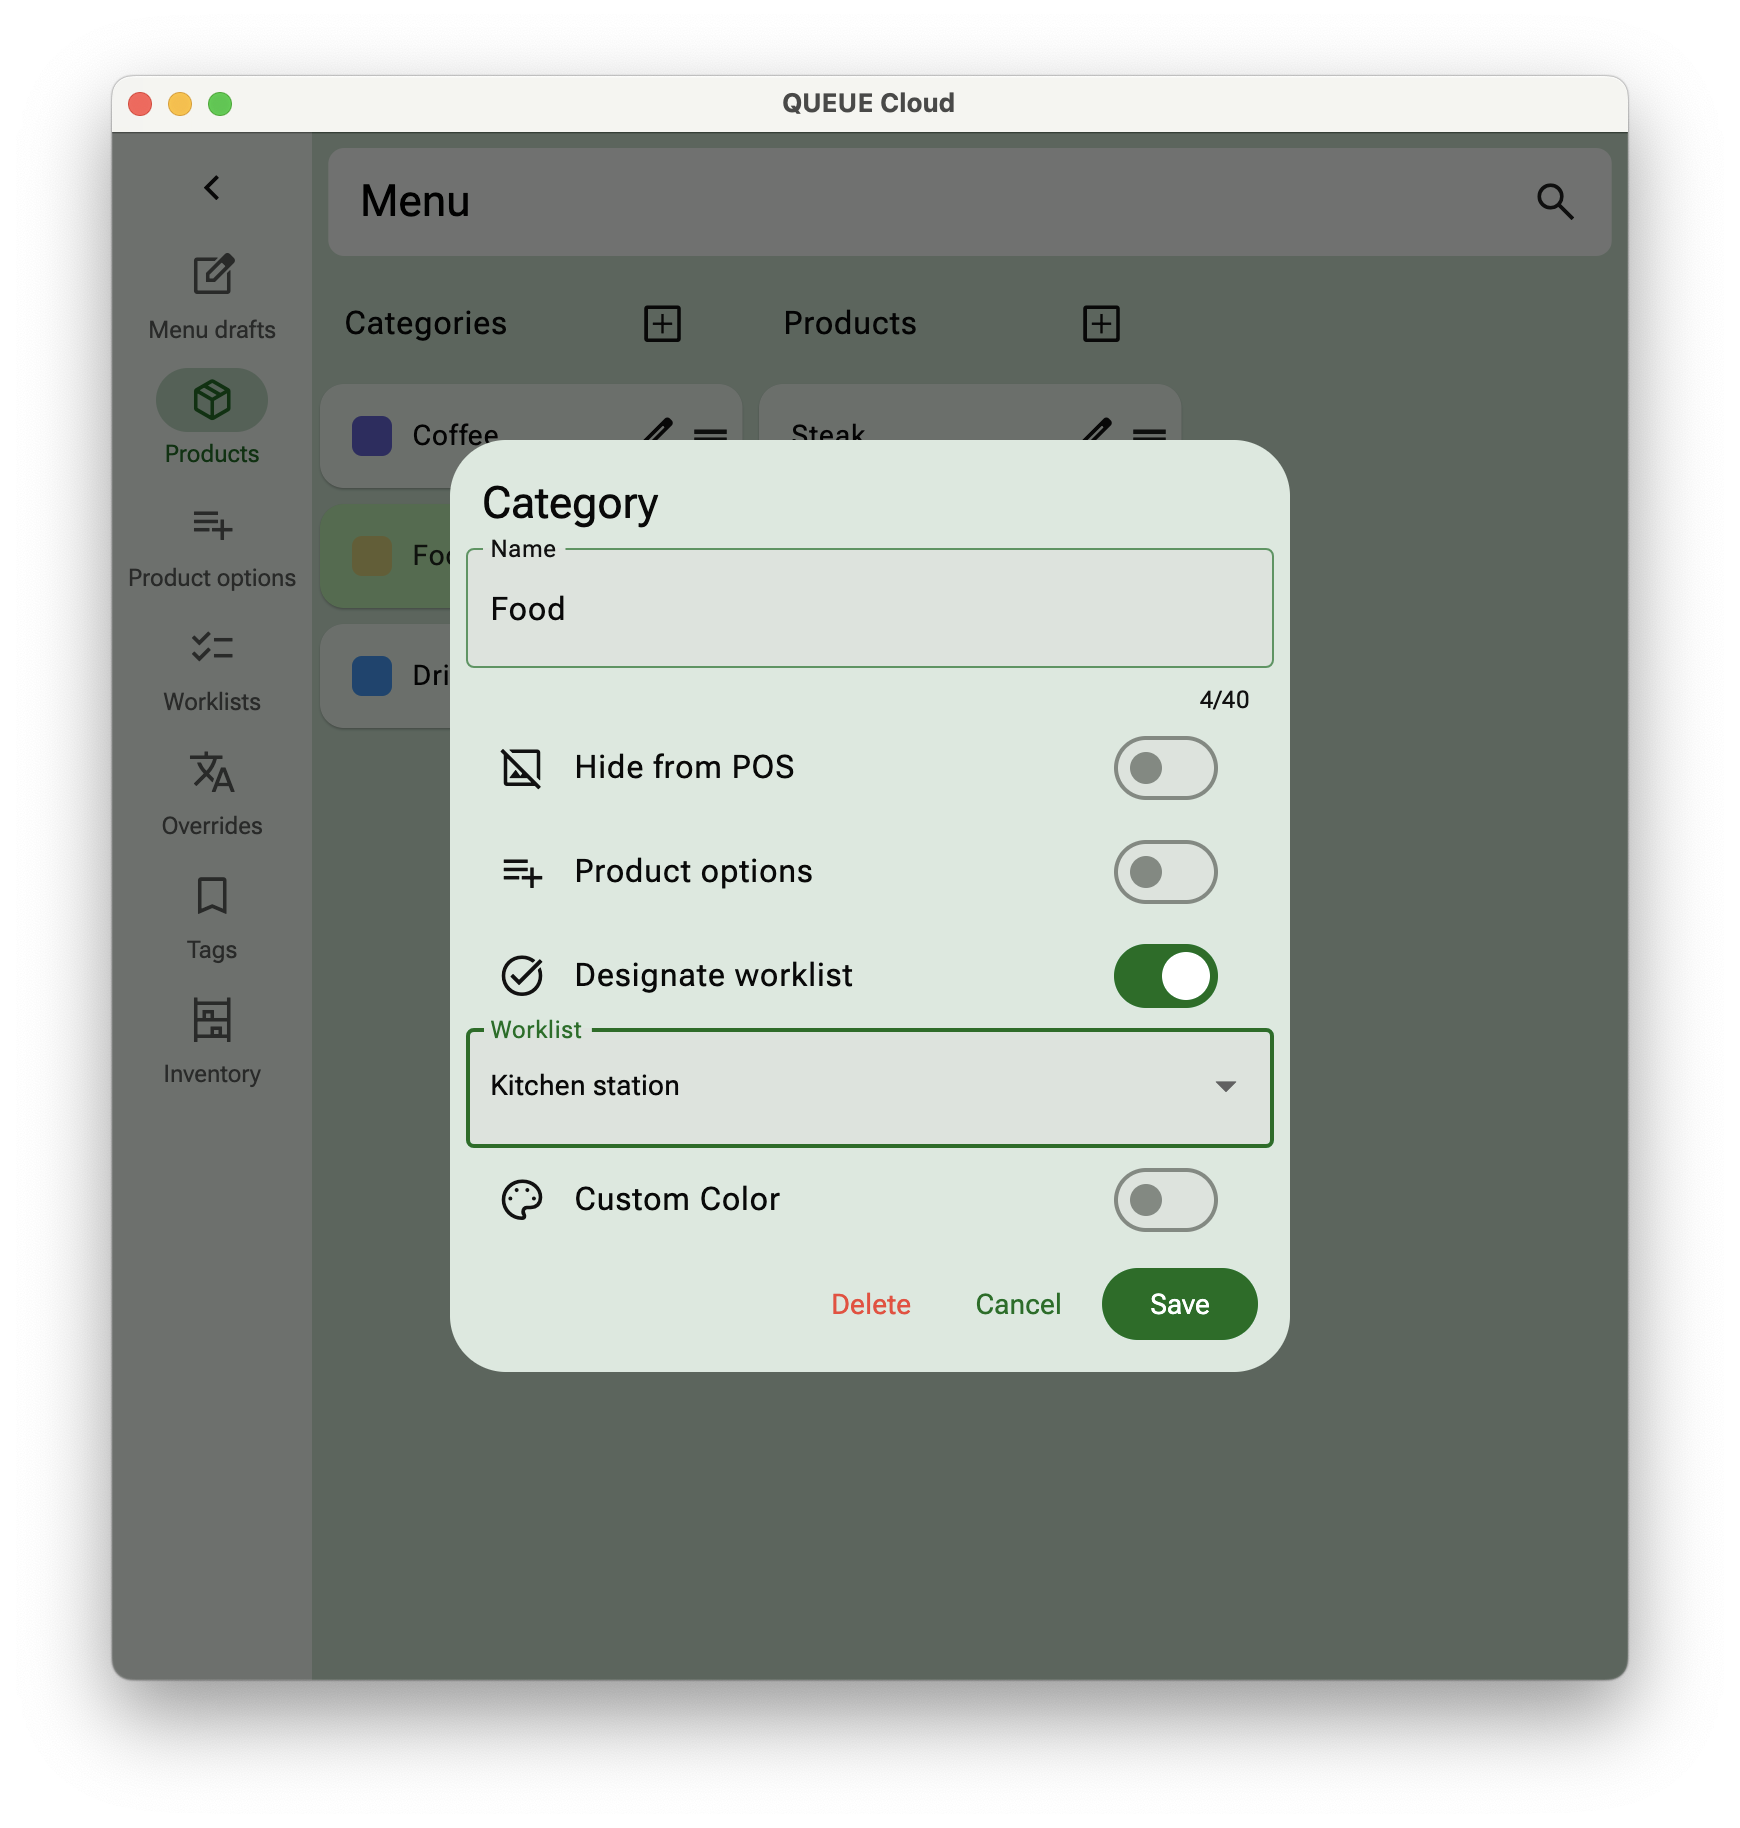
2. Connect a category or product with a work list
From Settings > Menu > Products chose Designate worklist either on a category or a product level and chose the newly created worklist. These items will now be printing on the printer(s) designated for this worklist.
3. Check your set up
Take an order from a category or product that has been connected with a worklist and hit execute. Tickets should print out from designated area.
Turn on Test mode in Settings > Printing > General > Test mode to try out your layout without actually printing any tickets. This is a great way to test things out without wasting lots of paper.